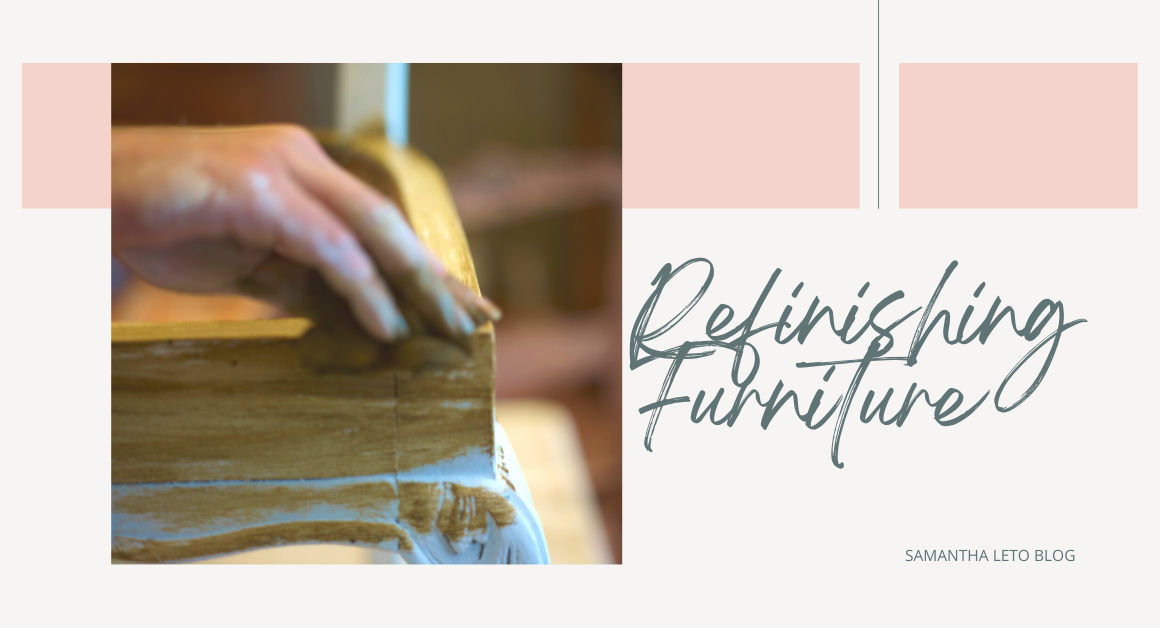
When my husband and I first wanted to refinish a piece of furniture, we had no idea what we were doing.
After a lot of research and trial and error, we wanted to share what’s been working for us! Here’s a quick step by step guide to help get you started on refinishing your first piece of furniture.
- The first thing we do before we start working on a piece is clean it. We usually use Simple Green to wipe the whole piece down to ensure we’re starting on a clean surface.
- After cleaning, we strip anything off the piece that we don’t want. We use a paint/varnish stripper, any brand will do. This will take off any existing paint or finish so that you can start fresh.
- Once everything is stripped off, we sand. We typically use a palm sander with 120 grit sand paper. We sand by hand any small spaces that the palm sander can’t reach.
- Once everything is sanded down and super smooth, it’s time to prime. When painting, we use Zinsser Shellac Based Primer. We tried using the cheaper version from this brand but ended up having to do multiple coats and the paint didn’t turn out as well. Buying the more expensive primer really is worth it considering all the extra time, work, and materials it took when using the cheaper one. When we’re using a wood stain, we use Minwax Prestain. This helps prep the wood for a more vibrant and even color.
- Once everything is prepped, we’re ready to paint/stain. We invested in a Husky HVLP (high volume low pressure) Paint Sprayer to speed up the process and help with a more even finish. You will need an air compressor to work this sprayer. The sprayer is definitely a game changer and helps give that professional look to your pieces. You can always use an airless sprayer or high quality brush if a sprayer isn’t possible! We typically use Valspar paint because that’s what sold at Lowe’s where we do most of our shopping. The type of paint we use depends on the project. If you’re painting a more high traffic area such as a kitchen or coffee table, going with more of a gloss is your best bet because that will help protect the surface and is more easily cleaned. For a kitchen table we use semi-gloss, but for a dresser we use matte. With stain we just use the Minwax Stain color of our choice.
- After each coat of paint we give a quick sand with 220 grit sand paper. Once all of our coats are done it’s time to apply the polycrylic. We use the Minwax Polycrylic Protective Finish. Just like the paint, the type we use depends on the piece. A dresser would be okay with matte or glossy, whichever look you prefer. A table is better suited for glossy to give more protection. We like to apply the polycrylic using a foam brush. We learned the hard way that when poly gets too hot, it cracks. We were trying to use our sprayer in the garage, but the heat and humidity was making that difficult. We ended up moving our pieces into the house and using the foam brush for a much better result. We usually apply anywhere from 3-8 coats of the poly depending on the traffic level of the piece. The same process with polycrylic applies to wood stain.
And that’s it! Once all of the polycrylic coats have been applied we do a check over the piece to make sure everything looks good and add any finishing touches. I hope this was helpful in getting you started on your next refinishing project!

If you love tackling household projects, don’t forget to subscribe for more content!


